
")
OLD RCD REMOVAL
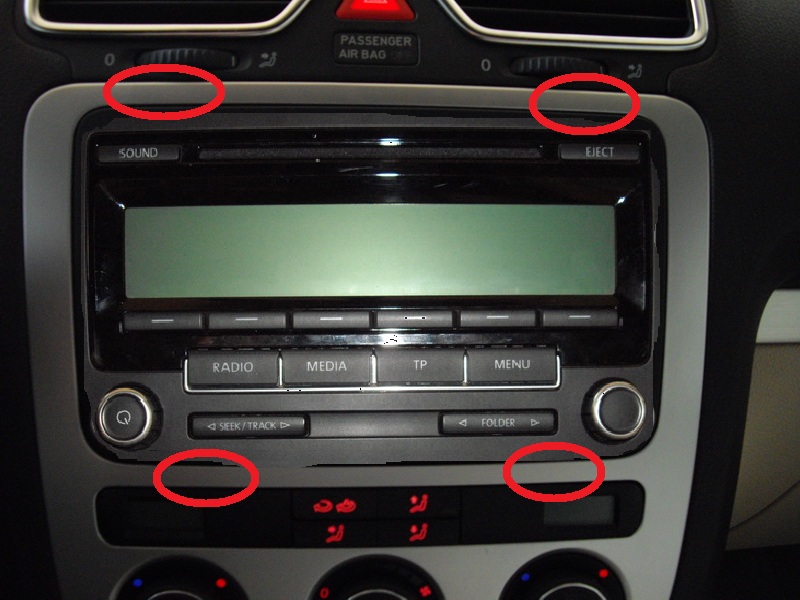
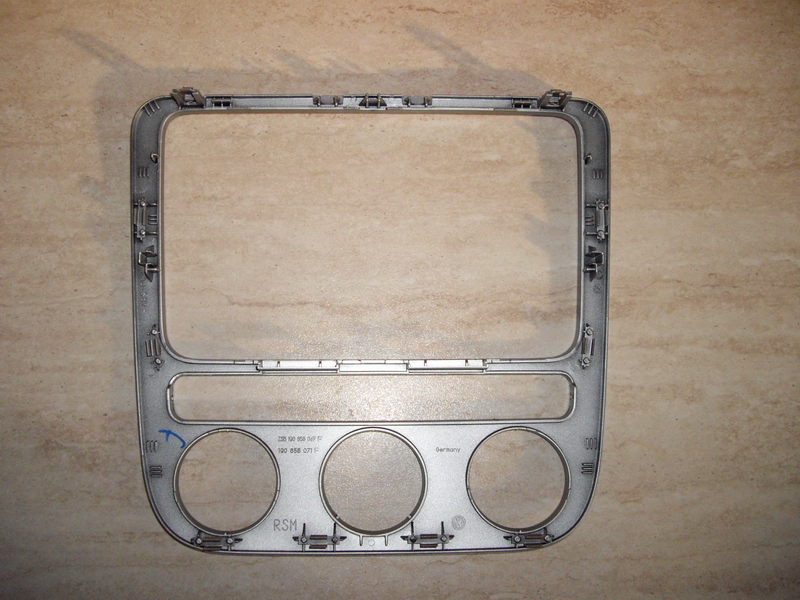
Using trim removers, remove the plastic decorative box starting from above (marked in red). Continue removing the upper side and slowly down to the bottom. See the following illustrations carefully to understand where the mounting clips are holding the frame. Take care not to break them!
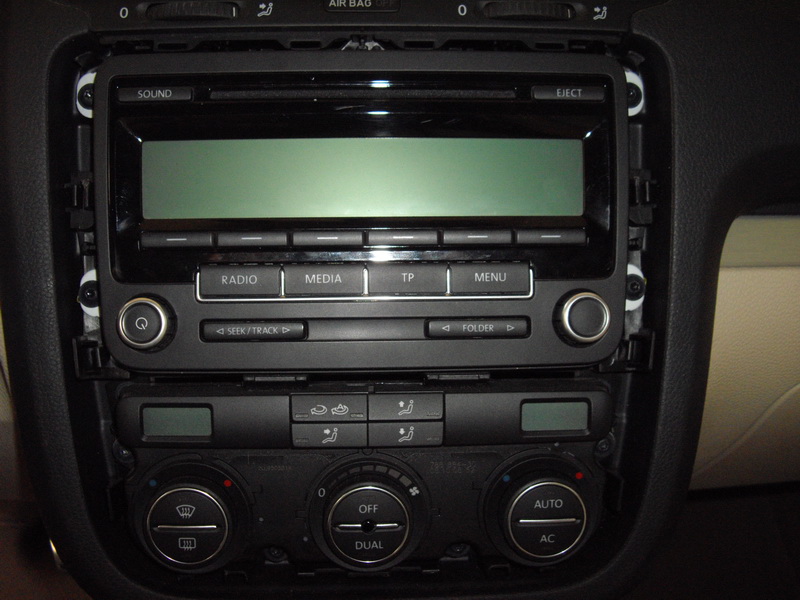
There are 4 special screws that keep together the RCD.
Remove them with the Torx T20 screwdriver.

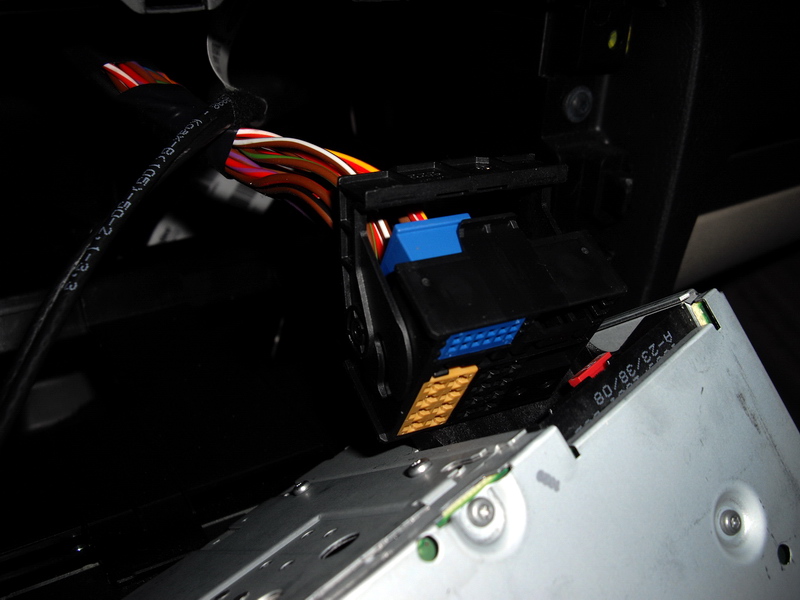
Take out the RCD and disconnect its 2 wires. The cable with the black plug has a clip that you need to lift so you can remove it.
Now, depending on the version of your old audio system, you have to go to the next step that is connecting the RNS 510.
• If you have a 3rd generation audio system, as in my case, then it is a pleasure to enjoy. It remains to snap into the RNS-510 and you are ready! The RCD-210, RCD-310, RCD-510 and RNS-310 are 3rd generation audio systems. Proceed to the next page.
• If you have a 2nd generation audio system, then you have to make several conversions. The RCD-300, RCD-500 and MFD2 are 2nd-generation audio systems. Go to page 5.